
Installing WordPress
To install a new WordPress installation, go to WordPress and click Install.

Here you can:
-
Install the latest version of WordPress with the default settings by clicking Install.
-
Change the default settings (including the desired WordPress version, the database name, the autoupdate settings, and more) and then click Install.
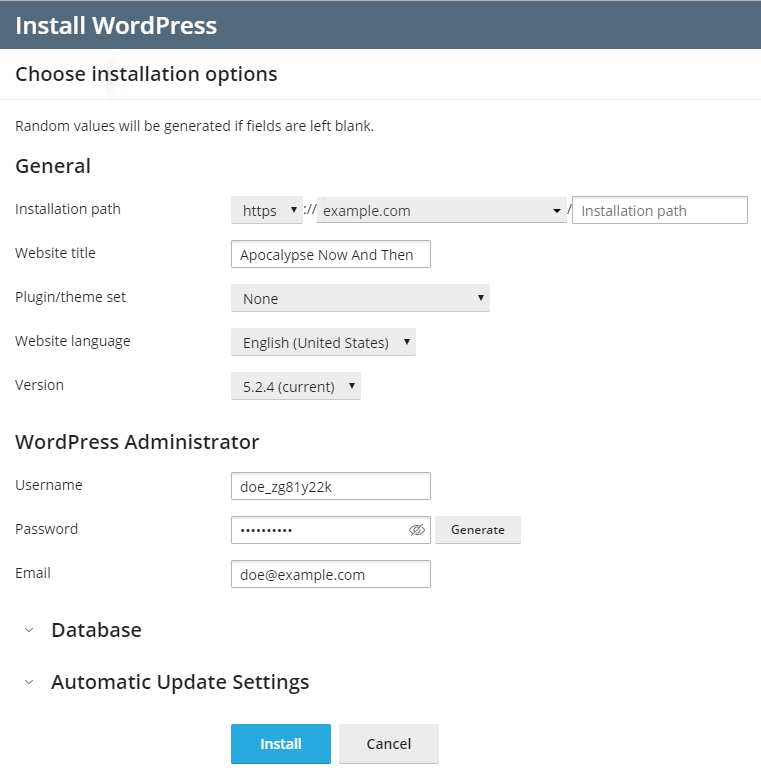
Note: To install WordPress, WP Toolkit retrieves data from wordpress.org. By default, if WP Toolkit cannot establish connection in 15 seconds, wordpress.org is considered to be unavailable.
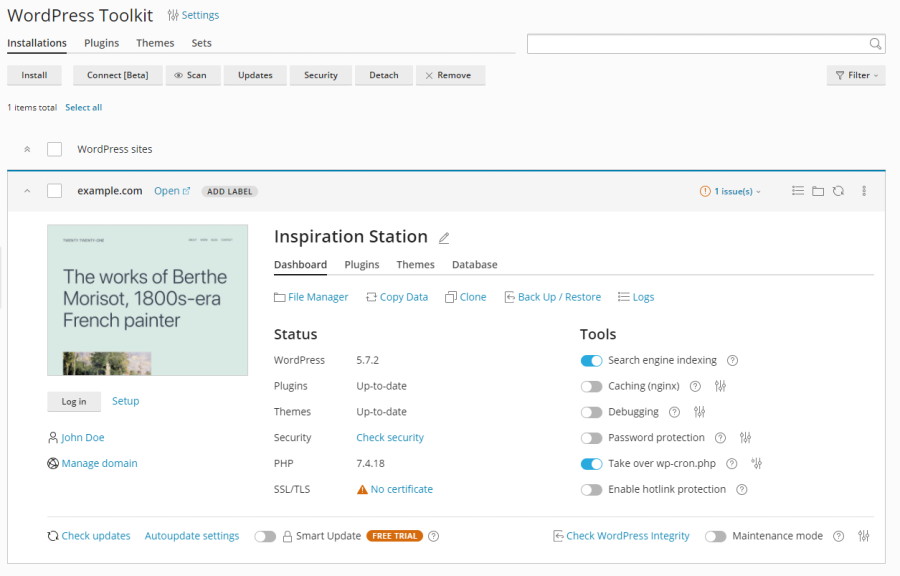
A new installation appears in the list of all existing WordPress installations in WordPress.
Adding existing WordPress Installations to WP Toolkit
All WordPress installations added using the WP Toolkit or through the Applications page appear in WP Toolkit automatically; those installed manually need to be attached to WP Toolkit. If you have upgraded from an earlier version of Plesk and you used WordPress, we recommend that you attach all existing WordPress installations to WP Toolkit.
To attach WordPress installations to WP Toolkit:
- Go to WordPress.
- Click Scan.
The WordPress installation was attached and is now shown in the list of existing WordPress installations in WordPress.
Importing WordPress Installations
You can use the “Web Site Migration” feature to migrate WordPress websites owned by you but hosted elsewhere to Plesk. When you migrate a WordPress website, Plesk copies all its files and the database to your server. Once a website has been migrated, you can manage it using WP Toolkit.
To migrate an existing WordPress website, go to Websites & Domains > WordPress, click Import, and then follow the instructions.