Logging Events of WordPress Installations
If your WordPress installation does not work as expected, you can view its logs to troubleshoot the issue. WP Toolkit logs important events it performs on managed websites, for example:
- Updating the website theme.
- Applying a security measure.
- Cloning a website.
Note: WP Toolkit version 5.5 (and higher) logs every single event it performs on a managed website. If you have WP Toolkit version 5.4, you’ll see only important events in the list.
WP Toolkit writes logs in plain text and for each individual WordPress installation.
To view logs of a WordPress installation:
-
Go to WordPress.
-
Click Logs next to the WordPress installation whose logs you want to view:

-
In the Logs of <site’s name> pop-up window, you can view the detailed information about logged events:

The pop-up window with the logs of the site appears. By default, the list updates only upon opening. You can also refresh the list by doing the following:
-
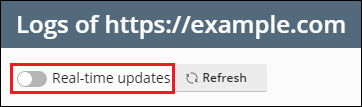
To get the latest logs once, click Refresh.
-
To get the list updated constantly while you’re viewing it, select the Real-time updates toggle button:
Note: When the toggle button is selected, logs are updated every five seconds. You can specify another update period in
actionLogRealTimeUpdatesPeriodvariable in thepanel.iniconfiguration file.
Filtering Logged Events
If you want to find particular events in the list, you can apply the following filters:

- Date/time of the event.
- Severity of the event. Possible values: Error, Warning, and Info.
- Actor of the event. It can be either a particular user or the system itself.
- Message used to describe the event.
After you’ve applied the filters, only events that match the filter criteria will be displayed.
Log Rotation
Starting from WP Toolkit version 5.5, you can configure log rotation for a particular WordPress installation. By default, log rotation is enabled for all WordPress installations. However, you can disable it or configure individual settings for each of the installations. Here’s how to do it:
-
Go to WordPress.
-
Click Logs next to the required WordPress installation.
-
In the upper right corner of the pop-up window, click Log Rotation.
-
In the Log Rotation Settings pop-up window, configure the following parameters:

- Enable checkbox. By default, the checkbox is selected. You can manually disable log rotation by clearing the checkbox.
- Rotate by size or Rotate by time radio buttons. Select the required option and specify the maximum log size or the rotation time.
- Maximum number of log files. When the number of log files reaches the specified value, WP Toolkit will compress the earliest uncompressed log file before creating a new one.
- Disk space economy. To save disk space, select the Compress log files radio button. If you want the log files to be available at any moment, leave the checkbox cleared.
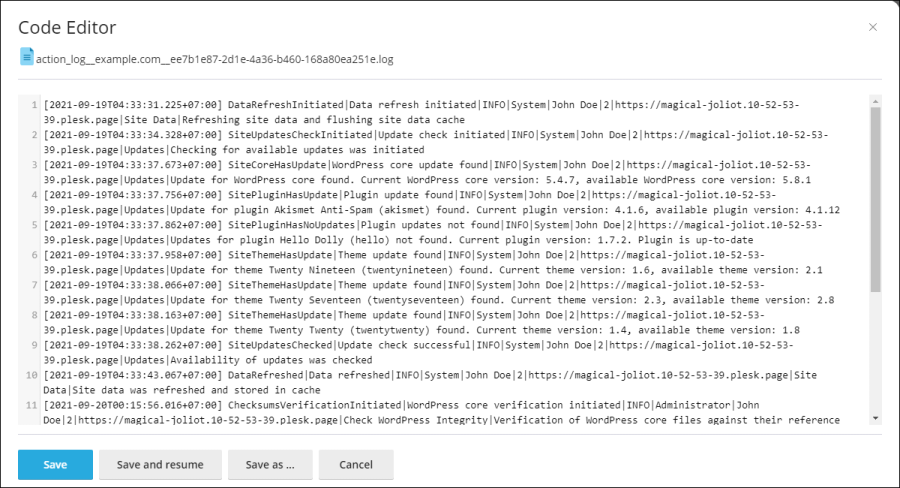
Log File Manager
In the log file manager, you can view, copy, or delete particular lines of the recorded events. WP Toolkit stores each log file in a separate folder and names the file according to the following pattern:
$HOME/logs/wpt_action_logs/action_log_#WEBSITE_UID#.log
where $HOME is your domain home directory and WEBSITE_UID is the website’s internal UID.
Here’s how the log editor can look: